


Table of contents
Hello, my friend. If you don’t know me, my name is Aryan Gupta, a passionate web developer and Node.js developer who’s making very specific questions on the internet and not finding answers.
As you begin your journey in creating a backend with express and Node js, you will encounter many challenges, one of which is how to connect the database to your backend. That is what I will demonstrate to you today, and we will also add data to the database. You must have a basic understanding of Node js and express to follow along with this tutorial.
To begin, we will use MongoDB as our database. Firstly
What is MongoDB?
MongoDB is a document-oriented, open-source database management system that is often used for handling large amounts of data. It uses a JSON-like format to store data and is based on the NoSQL (not only SQL) model, which allows for more flexible and scalable data management compared to traditional relational databases.
Now, let's start
First, make a folder you can name anything. I am naming it the backend
mkdir backend
cd backend
Now In the backend folder we do
npm init -y
This command will make a package.json file which will look like this
Wrote to C:\Users\gupta\OneDrive\Desktop\backend\package.json:

{
  "name": "backend",
  "version": "1.0.0",
  "description": "",
  "main": "index.js",
  "scripts": {
    "test": "echo \"Error: no test specified\" && exit 1"
  },
  "keywords": [],
  "author": "",
  "license": "ISC"
}
Now make file server.js in the backend where we will write all the server logic
Let's install all the necessary dependencies we need for this tutorial
npm install express cors body-parser
npm install -d nodemon
After installing all dependencies Now let's set up the server.js file like this
const express = require("express");
const cors = require("cors");
const bodyParser = require("body-parser");
const templateRoute = require("./routes/template");
const app = express();
const port = 8001;
// const csrfMiddleware=csurf({cookie:true});

app.use(
  cors({
    origin: [
      "https://www.uniqusstore.io",
      "https://www.google.com/",
      "http://localhost:3000",
    ],
  })
);
app.use(express.json());
app.use(bodyParser.json());
app.use(express.urlencoded({ extended: false }));
//creating template route
app.use("/template", templateRoute);

//home route
app.get("/", (req, res) => {
  res.json({ message: "Welcome to MongoDB Turorial" });
});

// Backend is listing on 8001
app.listen(port, () => {
  console.log(`app runing on port ${port}`);
});
Above will be our server js file
Here we used CORS (Cross-Origin Resource Sharing). This is done to prevent malicious websites from making unauthorized requests on behalf of the user. we have given access to localhost:3000 where our frontend will run
In your package.json do this changes to set up nodemon
  "scripts": {
    "dev": "nodemon server.js"
  },
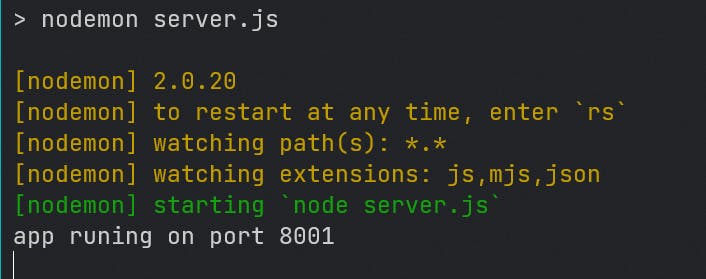
Now let's run our server
npm run dev
We used mongoose to connect to our database
const mongoose = require("mongoose");
mongoose.set("strictQuery", false);
mongoose
  .connect( "mongodb+srv://uniqus<password>@uniqusstore.nvafzrk.mongodb.net/?retryWrites=true&w=majority"
  )
  .then(() => console.log("DB Connected!"));
you can get the URL by making an account in mongoDB altas by going to this link - https://www.mongodb.com/atlas/database
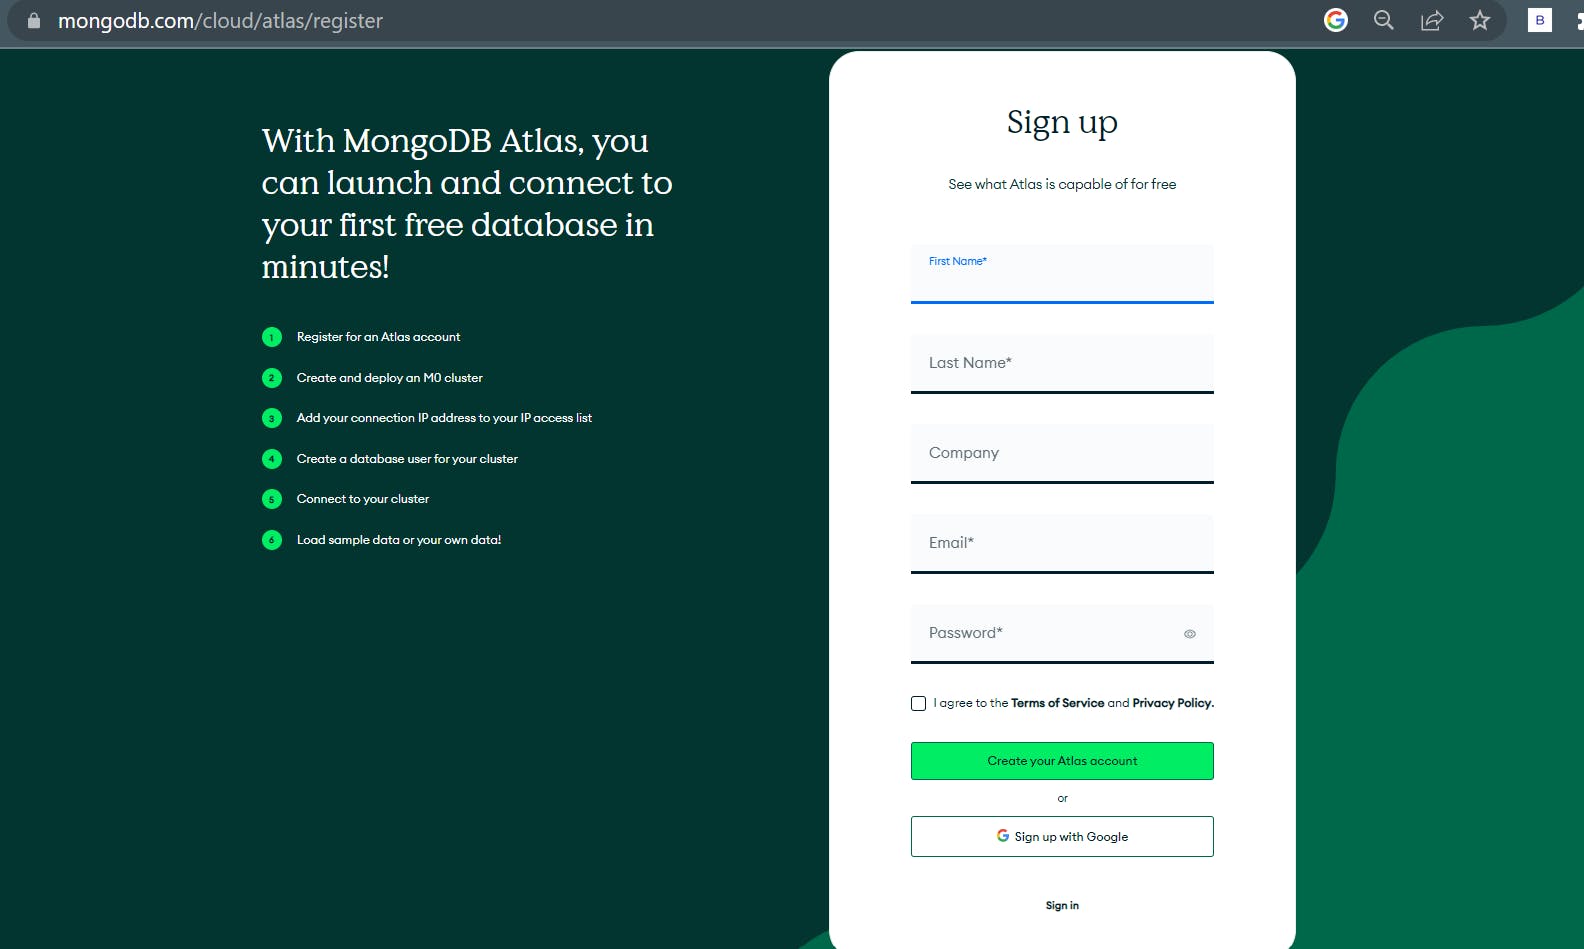
finish the setup procedures Following that, you will select the free mongodb shared plan .
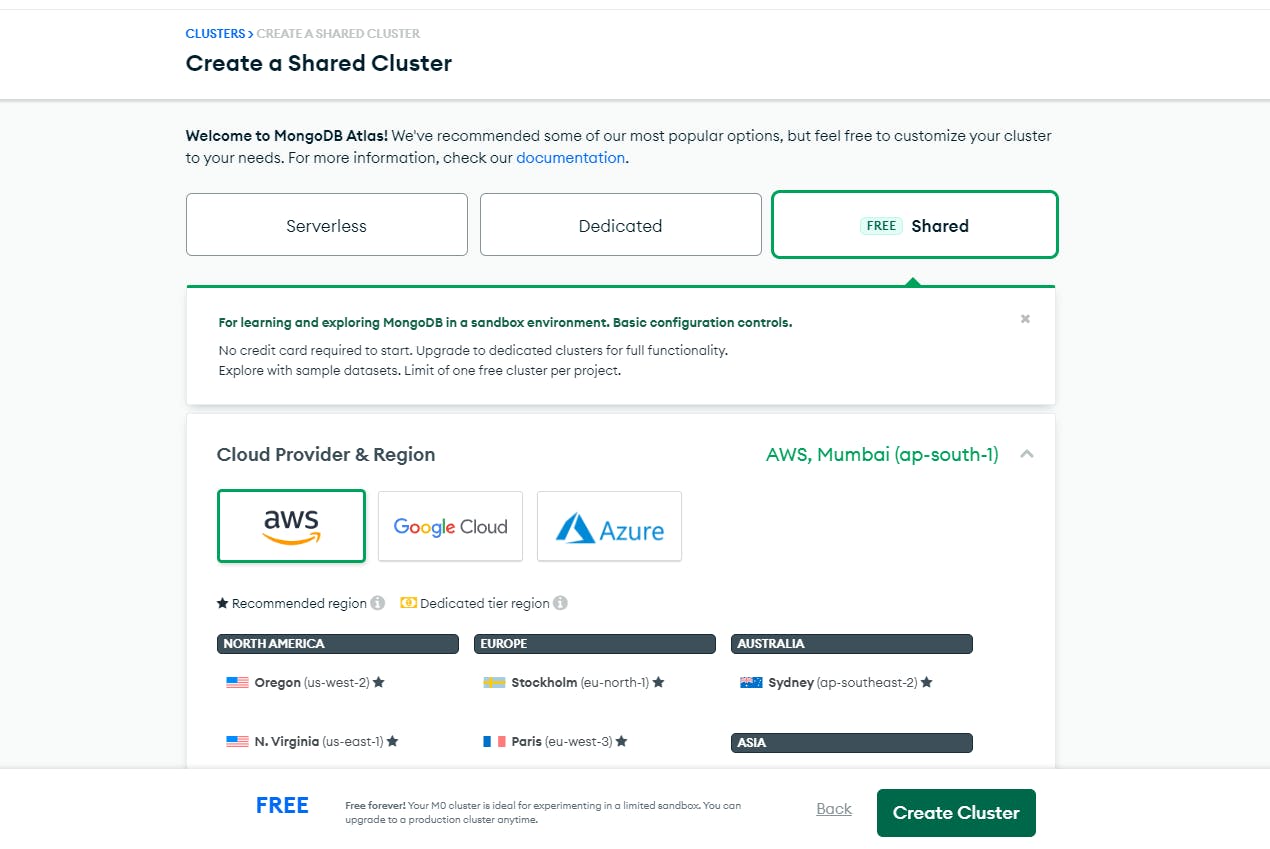
Choose the default settings, name your cluster whatever you want, and then click Create Cluster.
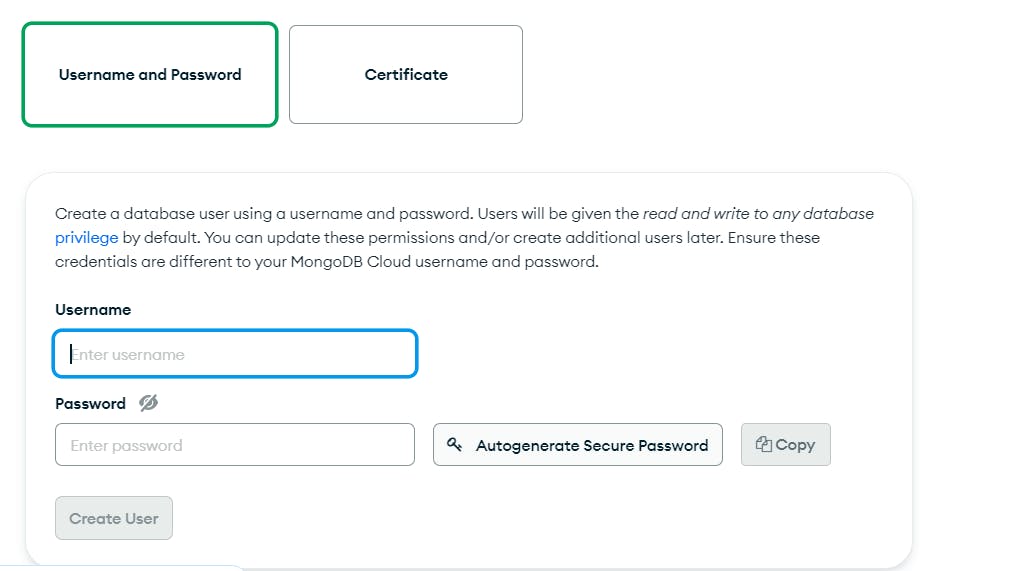
Create a username and password, and remember the password as it is critical when connecting to the cluster.
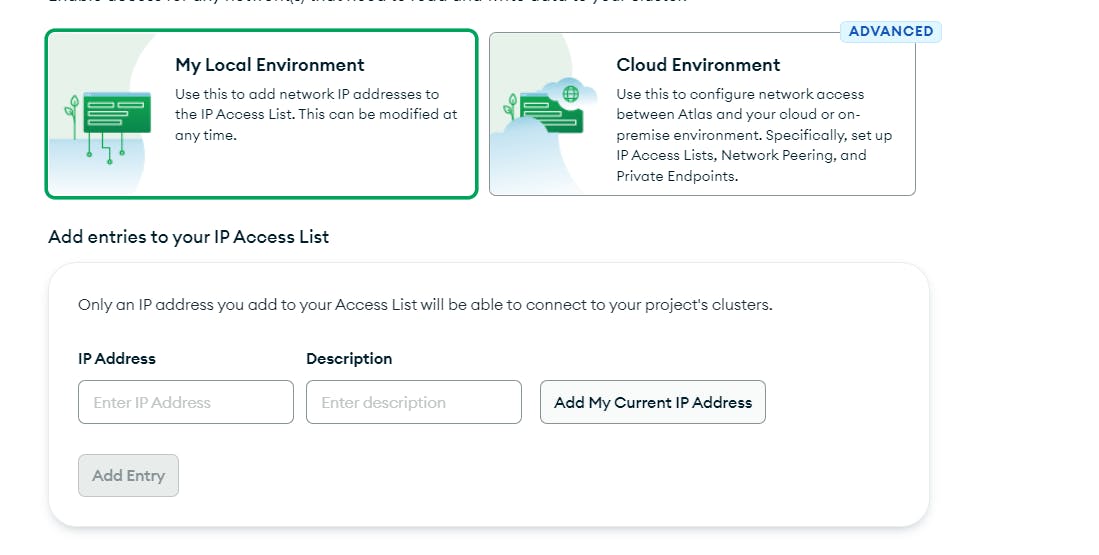
Choose to Add My Current IP Address to obtain your machine's IP address, then click Finish and close.
You will now see this screen after your cluster has been created.
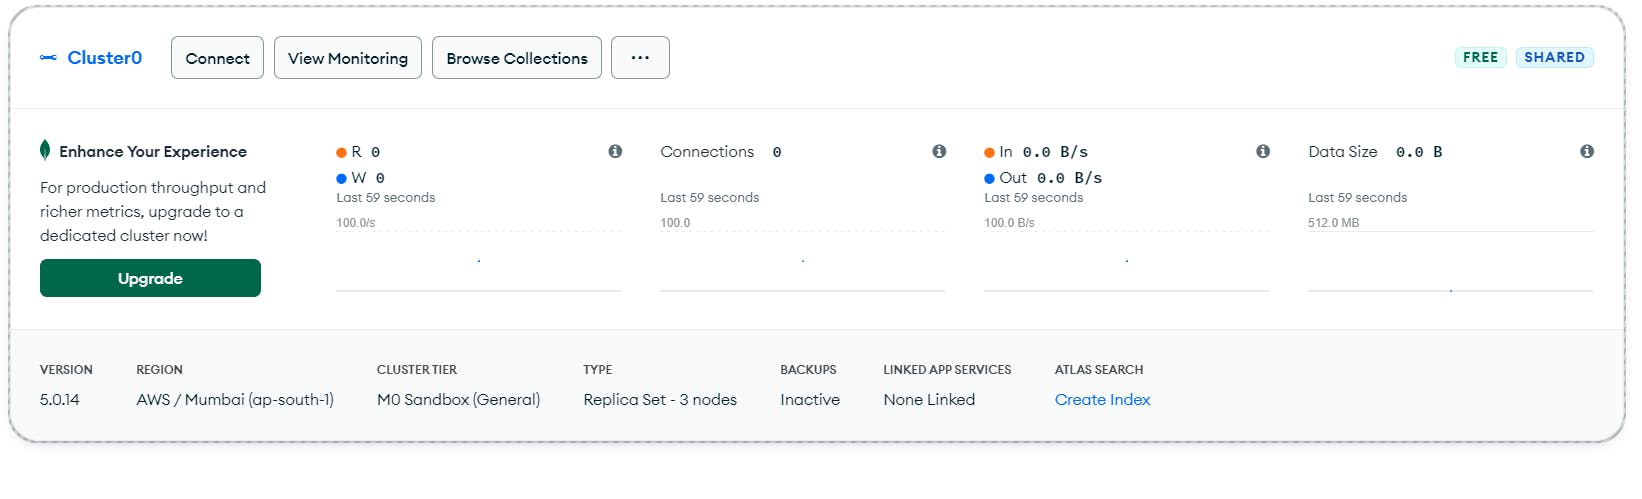
Connect by clicking the connect button.
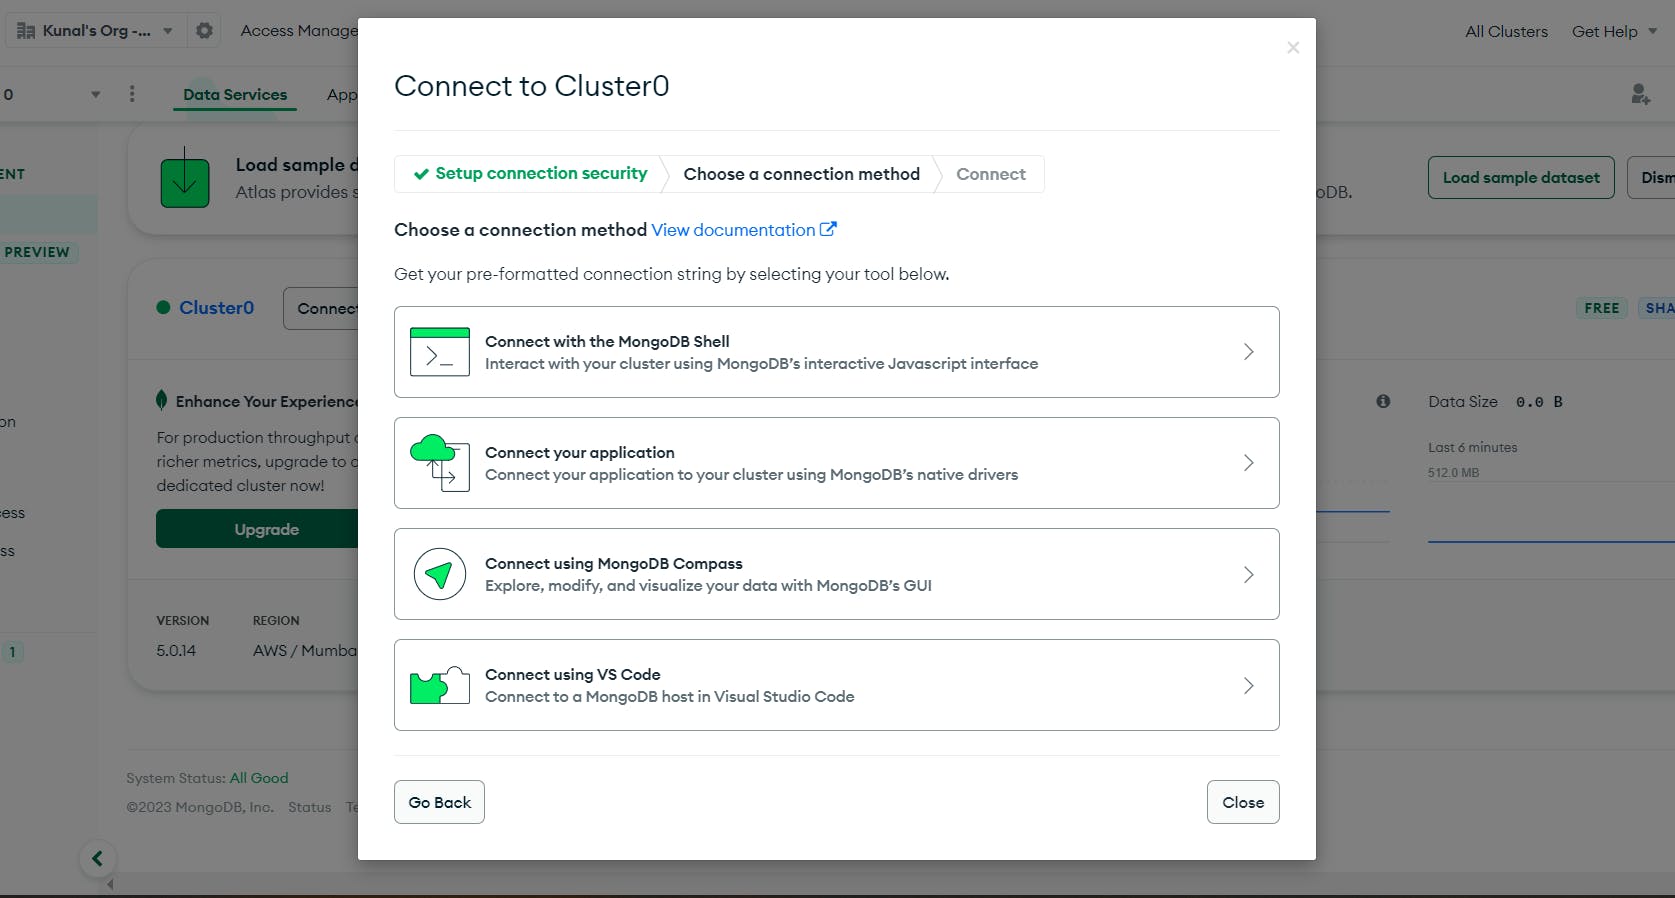
Select Connect your application now.
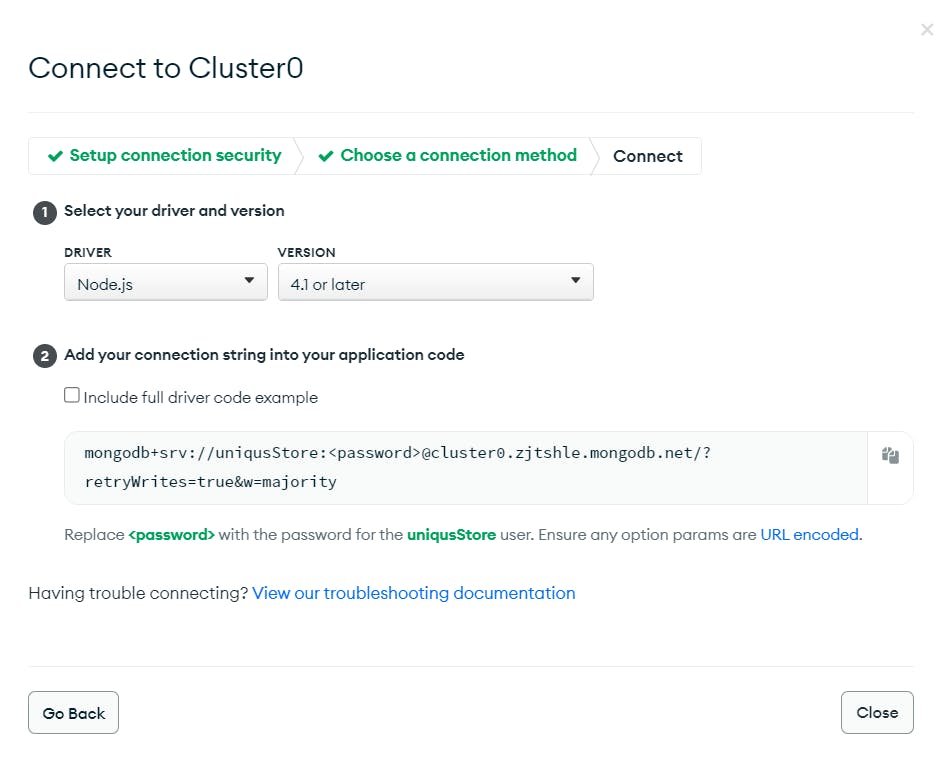
Copy and paste the URL In server js mongoose.connect, replace "<password>" with the password you created earlier.
With this again run the server and your database will be connected
mongoose
  .connect( "mongodb+srv://uniqusexamplePassword@uniqusstore.nvafzrk.mongodb.net/?retryWrites=true&w=majority"
  )
  .then(() => console.log("DB Connected!"));
npm run dev
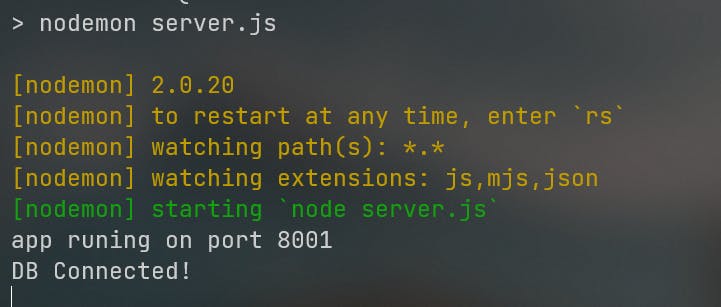
Your database is now linked to your backend. Now you can perform all database operations. In my next blog, I will show you how to add data to a database and perform various database operations.
Thank you for reading, and please continue to learn.